Thoughtful PM
Windows is innocent - the culprit is third party device drivers!
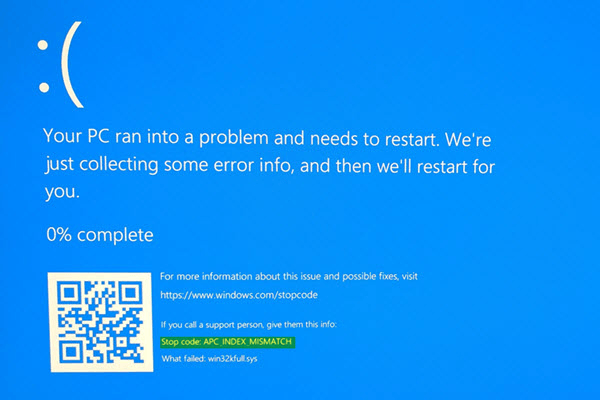
Windows Blue Screen of Death (BSD) has been a biggest joke amongst Mac and Linux users for a long time. Little did we know that it's not completely Windows OS's fault rather it's the third party device drivers and tools written to support various hardware and services were the root cause of the problem. But obviously users blames Microsoft for not scrutinising those buggy application and allowing them to distributed through their updates or through the vendors.
But there's also a common cause - specially after people upgraded from Windows 7 to 8/8.1 and recently to Windows 10 discovered the BSD problem again! During the online/manual upgrade process some file gets corrupted and also some doesn't get replaced with newer version which should have happened during the upgrade. To address this issue Microsoft has a Windows built-in tool called System File Checker. It is a utility in Windows that allows users to scan for corruptions in Windows system files and restore corrupted files. If a Windows Resource Protection (WRP) file is missing or is corrupted, Windows may not behave as expected - some Windows functions may not work, or Windows may crash.
This how you can run the System File Checker tool (SFC.exe);
Windows 10, Windows 7 or Windows Vista
To do this, click Start, type Command Prompt or CMD in the Search box, right-click Command Prompt, and then click Run as administrator. If you are prompted for an administrator password or for a confirmation, type the password, or click Allow.
Windows 8 or 8.1
Swipe in from the right edge of the screen, and then tap Search. Or, if you are using a mouse, point to the lower-right corner of the screen, and then click Search. Type Command Prompt in the Search box, right-click Command Prompt, and then click Run as administrator. If you are prompted for an administrator password or for a confirmation, type the password, or click Allow.
sfc /scannow
At the command prompt, type the following command, and then press ENTER:
sfc /scannow
The sfc/scannow command will scan all protected system files, and replace corrupted files with a cached copy that is located in a compressed folder at %WinDir%\System32\dllcache.
The %WinDir% placeholder represents the Windows operating system folder. For example, C:\Windows.
Note: Do not close this Command Prompt window until the verification is 100% complete. The scan results will be shown after this process is finished.
Outcome
After the process is finished, you may receive one of the following messages:
- Windows Resource Protection did not find any integrity violations.
- This means that you do not have any missing or corrupted system files.
- This means that you do not have any missing or corrupted system files.
- Windows Resource Protection could not perform the requested operation.
- To resolve this problem, perform the System File Checker scan in safe mode, and make sure that the PendingDeletes and PendingRenames folders exist under %WinDir%\WinSxS\Temp.
- To resolve this problem, perform the System File Checker scan in safe mode, and make sure that the PendingDeletes and PendingRenames folders exist under %WinDir%\WinSxS\Temp.
- Windows Resource Protection found corrupt files and successfully repaired them. Details are included in the CBS.Log %WinDir%\Logs\CBS\CBS.log.
- To view the detail information about the system file scan and restoration, go to How to view details of the System File Checker process.
- To view the detail information about the system file scan and restoration, go to How to view details of the System File Checker process.
- Windows Resource Protection found corrupt files but was unable to fix some of them. Details are included in the CBS.Log %WinDir%\Logs\CBS\CBS.log.
- To repair the corrupted files manually, view details of the System File Checker process to find the corrupted file, and then manually replace the corrupted file with a known good copy of the file.